
Firstly thank you for checking out my DEF CON 30 WWWD 2022 rig build, here’s where I’m going to attempt to document and answer as many questions as I can about the build. Feel free to reach out to me via Twitter (@PanicAcid) if there’s anything this doesn’t cover that you’d like me to add.
Any links to Amazon products will be affiliate links, helps pay the bills and doesn’t cost you a penny, but if you strip the link I will totally understand. I’ll be sad, but I’ll understand.
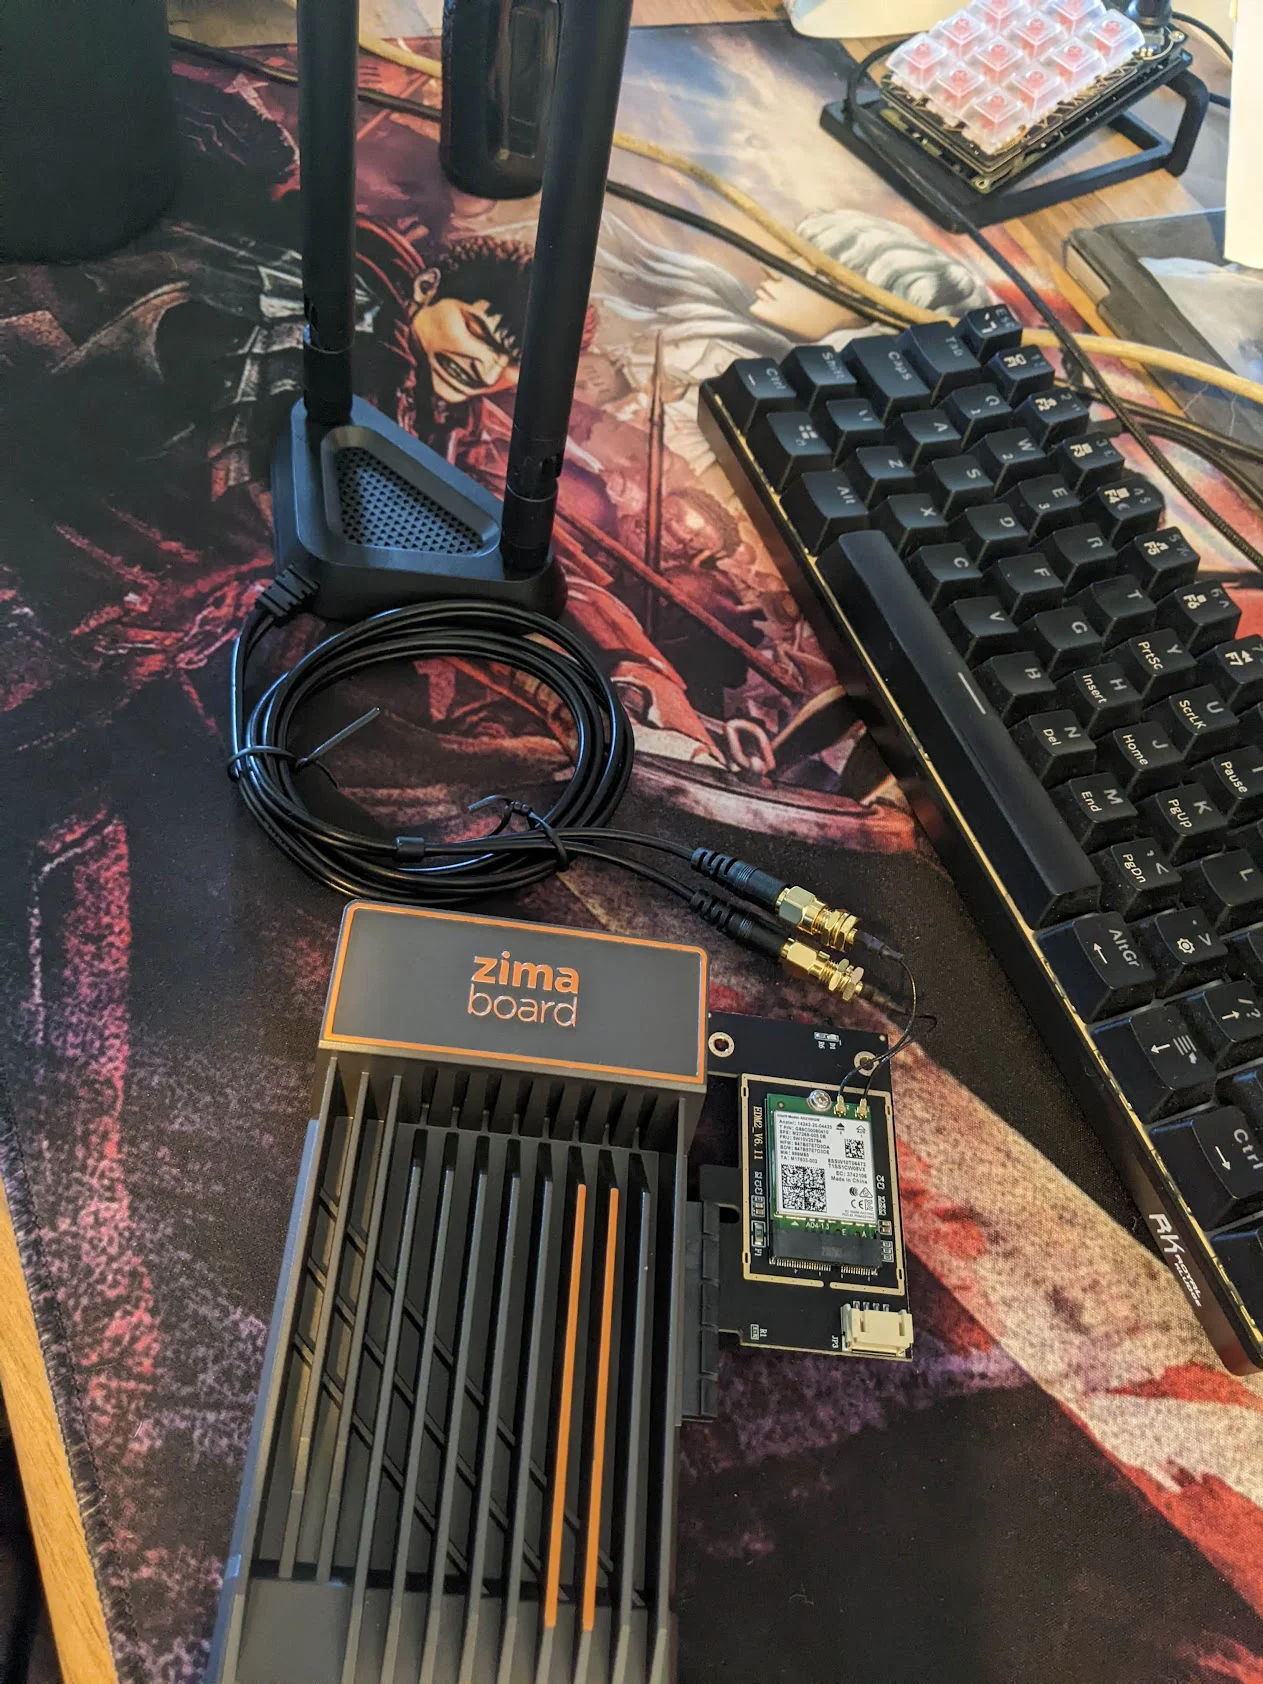
Following on from the DC29 WWWD (which was my first ever time competing in the WWWD) I had a plan in mind to build myself a bitchin’ wardriving rig for DC30’s WWWD and it was all built around two pieces of hardware, the ZimaBoard and the Alftel 12 slot PCIe carrier board.
I first saw the ZimaBoard on Kickstarter, at the time I was already familiar with the Alftel 12 slot card as I’d seen @d4rkm4tter use it in his Kraken Lite build. But I had no idea what I’d use to run the card with if I managed to get hold of one. The second I saw the ZimaBoard I just knew it would be perfect for it!
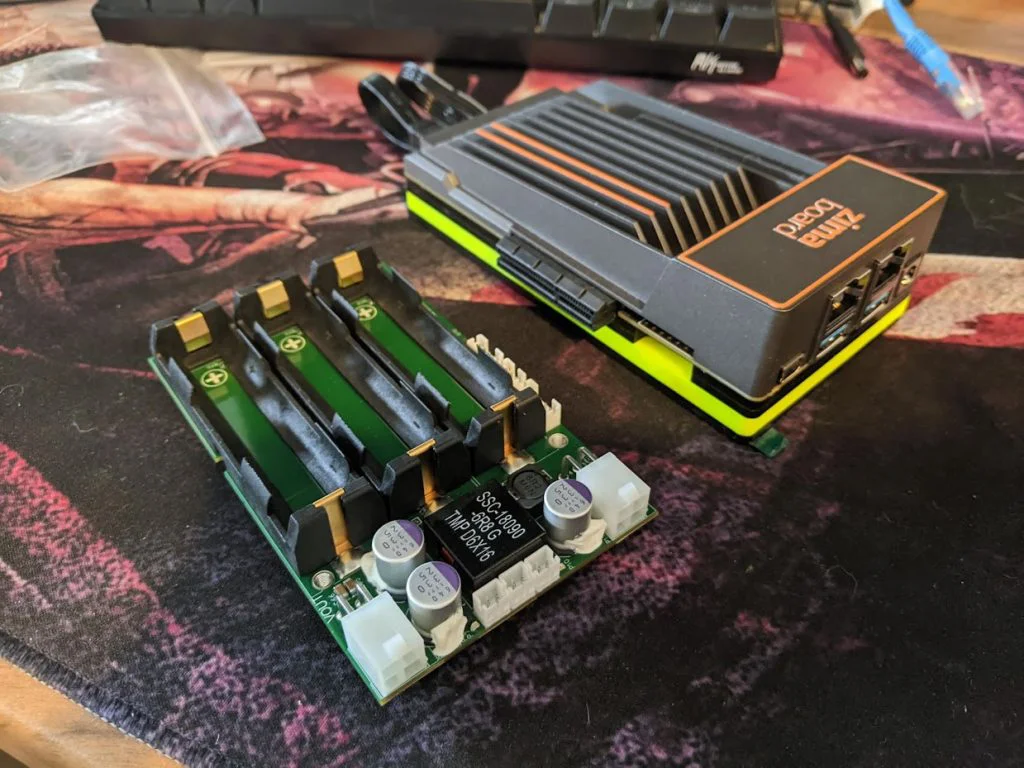
Below we have the ZimaBoard and the OpenUPS2 (more on the OpenUPS2 below).
Lets go into a bit more detail on the ZimaBoard, what is it? what does it do? and how am I going to use it in this build?
The ZimaBoard is a Single Board Computer (SBC) created by IceWhale – https://www.zimaboard.com
It comes in three different flavours but when I backed it on Kickstarter I knew straight away that I was going to use it as a base for my next war driving rig, so I backed the highest spec one which is the ZimaBoard 832 this includes:
- Intel N3450 Quad Core Processor @ 1.1Ghz / 2.2Ghz Burst
- 8GB RAM
- 32GB of eMMC flash storage
- 6W TDP
- 2 x SATA 6GB/s Ports
- 2 x USB 3.0
- 2x GbE LAN Ports
- 1x PCle 2.0 x4 (<— That’s the part I really wanted!)
- DC 12V 5.5×2.5mm
- Passive Cooling
Now that’s not an exhaustive list but it’s enough for us, check out the link above if you need some more details on the ZimaBoard
First thing I had to figure out about the ZimaBoard was adding more storage, it comes with SATA cables for you to hook up drives, but I knew I was going to be sticking this thing into a case and I didn’t want to have to mess around mounting a drive on, under, next to or otherwise.
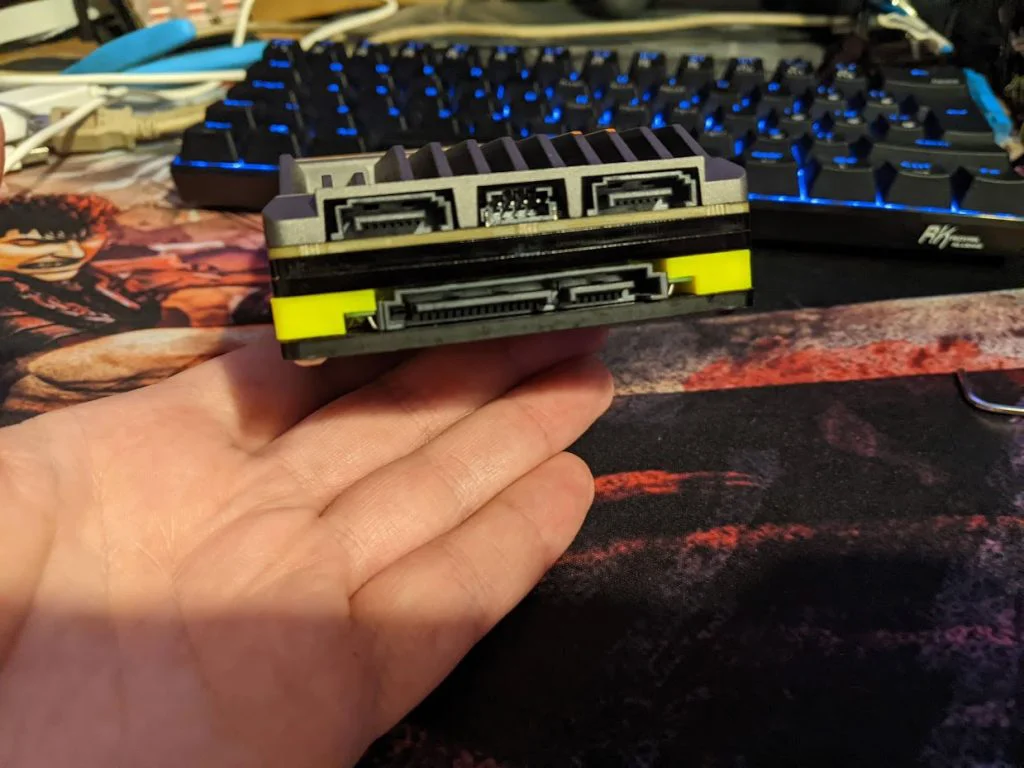
3D Printing to the rescue! As soon as I had the ZimaBoard in hand I went straight over to Thingiverse and started looking for 3D prints and I found a delightful print (you can find that print here) which bolts into the bottom of the ZimaBoard and incorporates the PCB of a SanDisk SSD into the base.
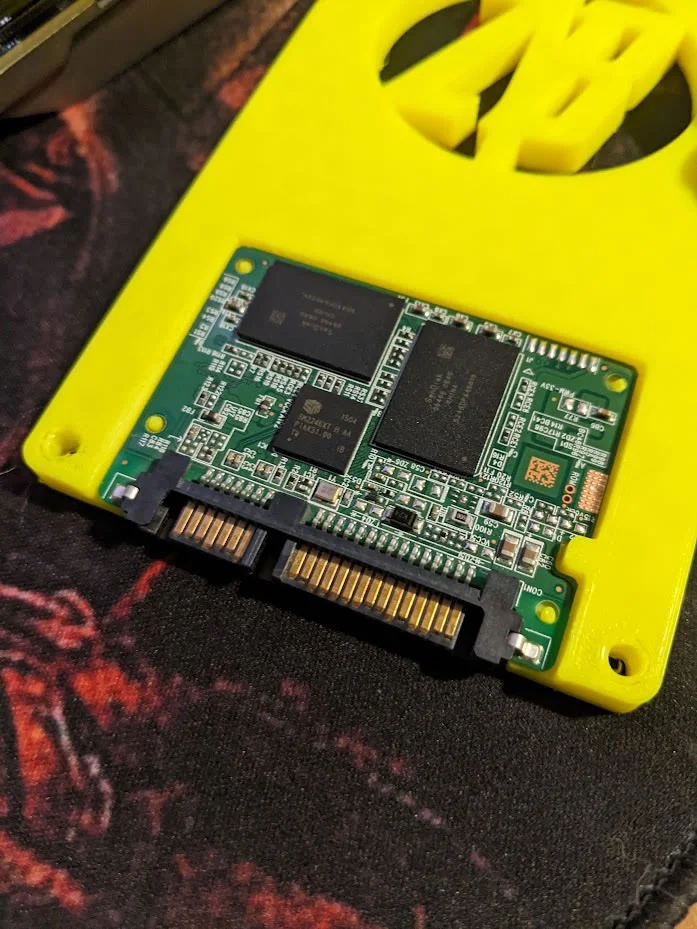
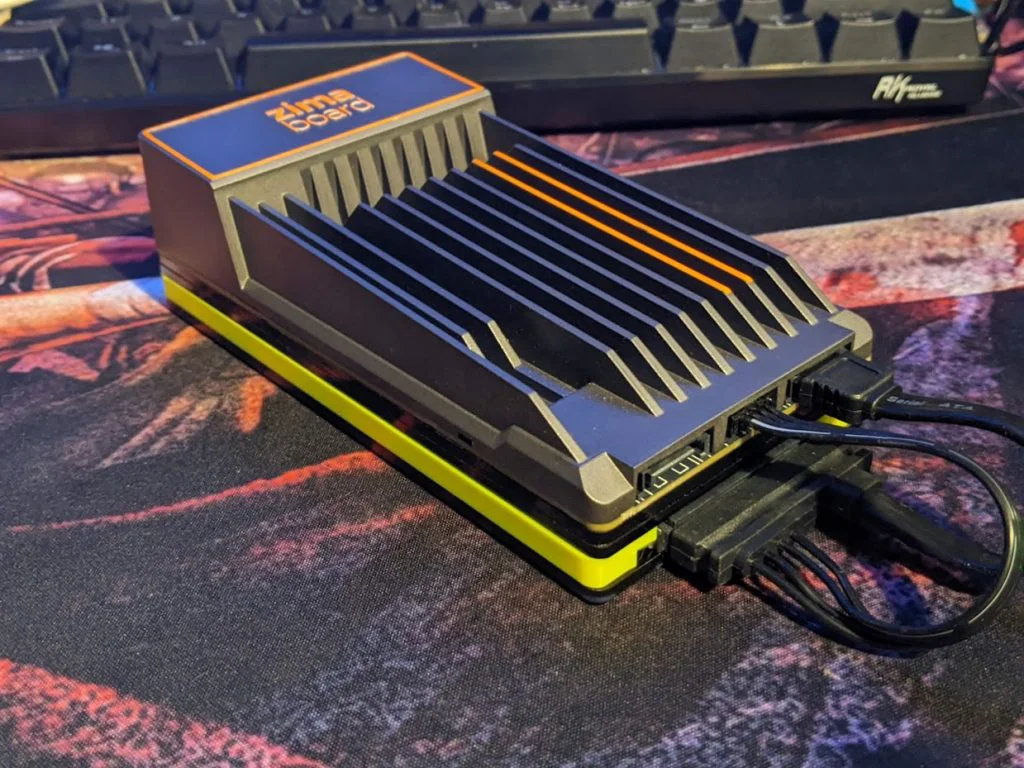
This print was great for me as it turned the ZimaBoard and SSD into one nice compact unit.
So I’ve now got some more storage on the ZimaBoard, but what comes next? Well for me that was a new OS. The ZimaBoards ship with CasaOS but for my application it’s a bit too bloated, has a webGUI and other gubbins that I didn’t need.
In comes Ubuntu Server, it’s what I’m used to, noob friendly and there’s plenty of documentation out there on the interwebs for it.
That’s OS selection and installation done, which is super easy on the ZimaBoard, make a bootable USB, hook up a keyboard and display and you’re off. Installation was a breeze and Ubuntu liked the hardware without any issues.
Once I got into Ubuntu there were a few things I setup, mainly to improve the boot speeds. I noticed straight away during boot it’d hang waiting for DHCP on the second NIC. This wasn’t ideal as once this thing is out war driving it might not have either NIC hooked up, to combat this head into /etc/netplan/ and edit your netplan yaml file (should just be the one in there post install) and add optional: true
Then I wanted to tweak GRUB as it had the default time out set on it which again further delays boot, which when I’m out war driving, I don’t want or need. Getting the rig up and running as quickly as possible is the goal.
sudo nano /etc/default/grubChange the default time out from 0 to 1 with GRUB 0 = Default which is 10 seconds (I think!). If you change it to 1 you’re going to get through that timeout in 1 second, which I’m no mathematician but 1 second is quicker than 10 seconds haha.
Once you’ve edited that you need to update GRUB with the following
sudo update-grubReboot and see if everything starts quicker – it does?! Success!
So that’s Ubuntu installed and starting quicker, the next thing on the agenda was to install Kismet. I’m not going to go into detail on installing Kismet because the documentation will do more for you than I ever can.
Personally I always install the nightly builds as Dragorn (@KismetWireless) is always adding new features that make my life easier when it comes to war driving.
Head over to the docs, find the build that suits your install and follow the instructions to install via git https://www.kismetwireless.net/docs/readme/packages/
Once we’ve got Kismet installed we need to give it some WiFi, now at this point I didn’t have the Alftel 12 slot, they’re an expensive and hard to find bit of kit so for testing purposes I used a single AX210 card in a PCIe carrier slot.
I can’t find any pictures of Kismet running with just this one radio so you’ll have to take my word for it that it worked ha ha.
After confirming that Kismet worked a treat on the ZimaBoard with just the one radio, the next stop was GPS – we need GPS for war driving as that enables us to log where each SSID was seen.
For GPS I use a cheap and cheerful external, magnetic and waterproof USB GPS receiver which you can find on Amazon here it’s a u-blox based device and I’ve had great success using them with GPSD.
That’s right, I said GPSD, this seems to be the easiest method for getting GPS data into Kismet and I switched to using it after Dragorn recommended it after I had some GPS issues with my previous build.
Again I wont go into too much detail on installing and configuring GPSD itself as they have their own documentation that you can find here.
Once you’ve got GPSD installed you need to tell Kismet to use it for GPS. To do this edit your kismet_site.conf file and add the following line
gps=gpsd:host=localhost,port=2947This line tells Kismet that we’re using GPSD for GPS and it’s running locally on the same machine that Kismet is running on.
Give Kismet a quick restart and check if we now have GPS
sudo systemctl restart kismetReconnect to Kismet and if everything has worked properly we should see some GPS coordinates in the top right.
So now we have a working war driving setup with GPS and a Radio, time to make it mobile! Checkout Part 2 for how we power this setup and shove it into a hard case.
Building TeenageDirtbag – Part 2 – Mobile Power and Case Design